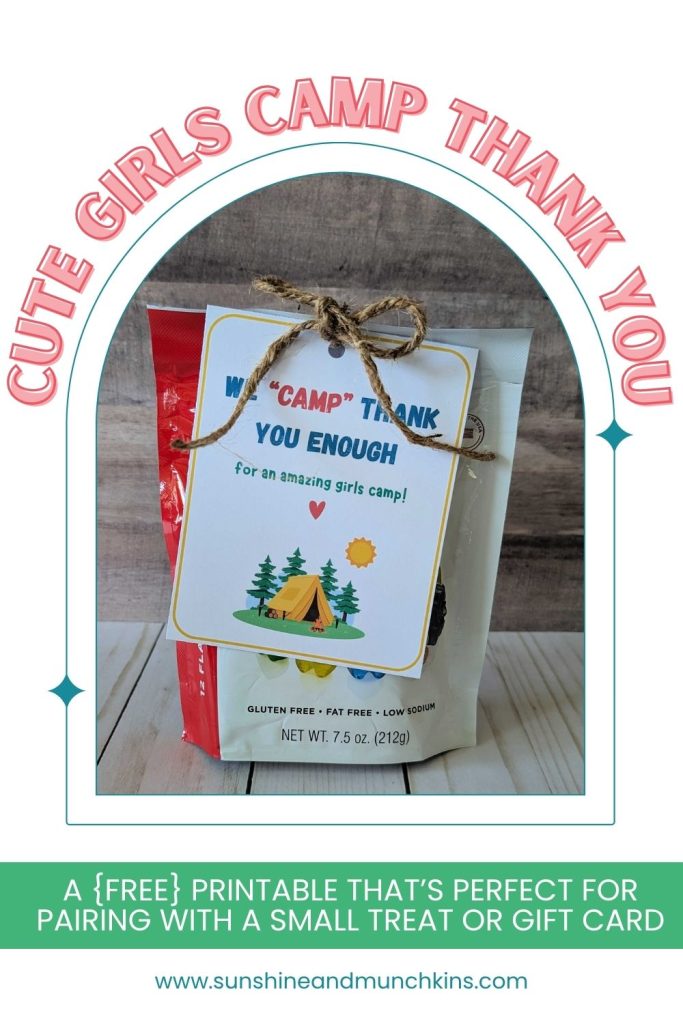
{FREE} Girls Camp Thank You Printable
Use this girls camp thank you printable as a quick and easy way to say “thank you” to those who help make girls camp smoother and more enjoyable.
This post contains affiliate links which means if you click on a link and make a purchase, I will receive a small commission at no additional cost to you. Thank you for your support!
For the last three years, I’ve had the opportunity to be a leader to the young women (ages 11-18) in my local congregation. As part of my time with them, I have helped plan what we lovingly refer to as “girls camp”. It takes a lot of people to pull off these camps each summer. Last year I made a simple girls camp thank you printable to go with some candy that we handed out to our helpers at the end.
With summer here, and a variety of summer camps along with it, I want to share this girls camp thank you printable. It’s a sweet and simple way to show gratitude and doesn’t take much time at all to put together.
Materials Needed
- White cardstock (printer paper works too)
- Paper trimmer
- Tape or Glue Dots
- Single hole punch
- Ribbon, jute twine or baker’s twine for attaching the printable
Ideas for What to Include with the Printable
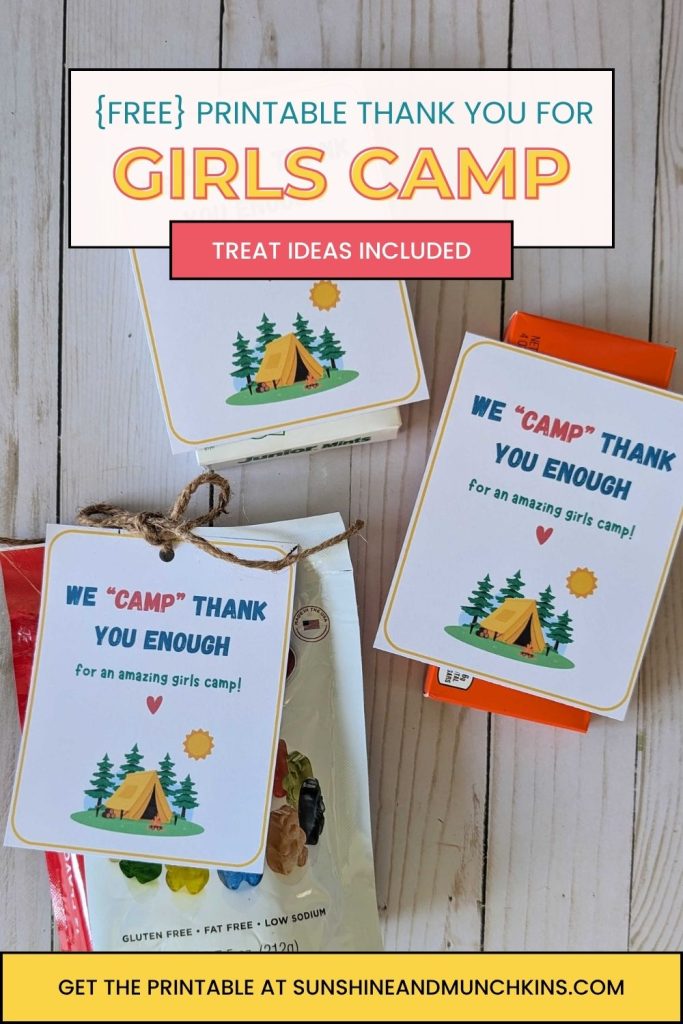
- Boxed theater candy
- Small bag of candy
- King size candy bar
- Gift card (Amazon, local treat shop, etc)
- 2 liter or 6-pack of their favorite soda
How to Get Your {FREE} Girls Camp Thank You Printable
To print off the girls camp thank you printable, you simply need to enter your email below and it will be sent to you as an easy to print PDF file.
How to Assemble Your Girls Camp Thank Yous
Step 1
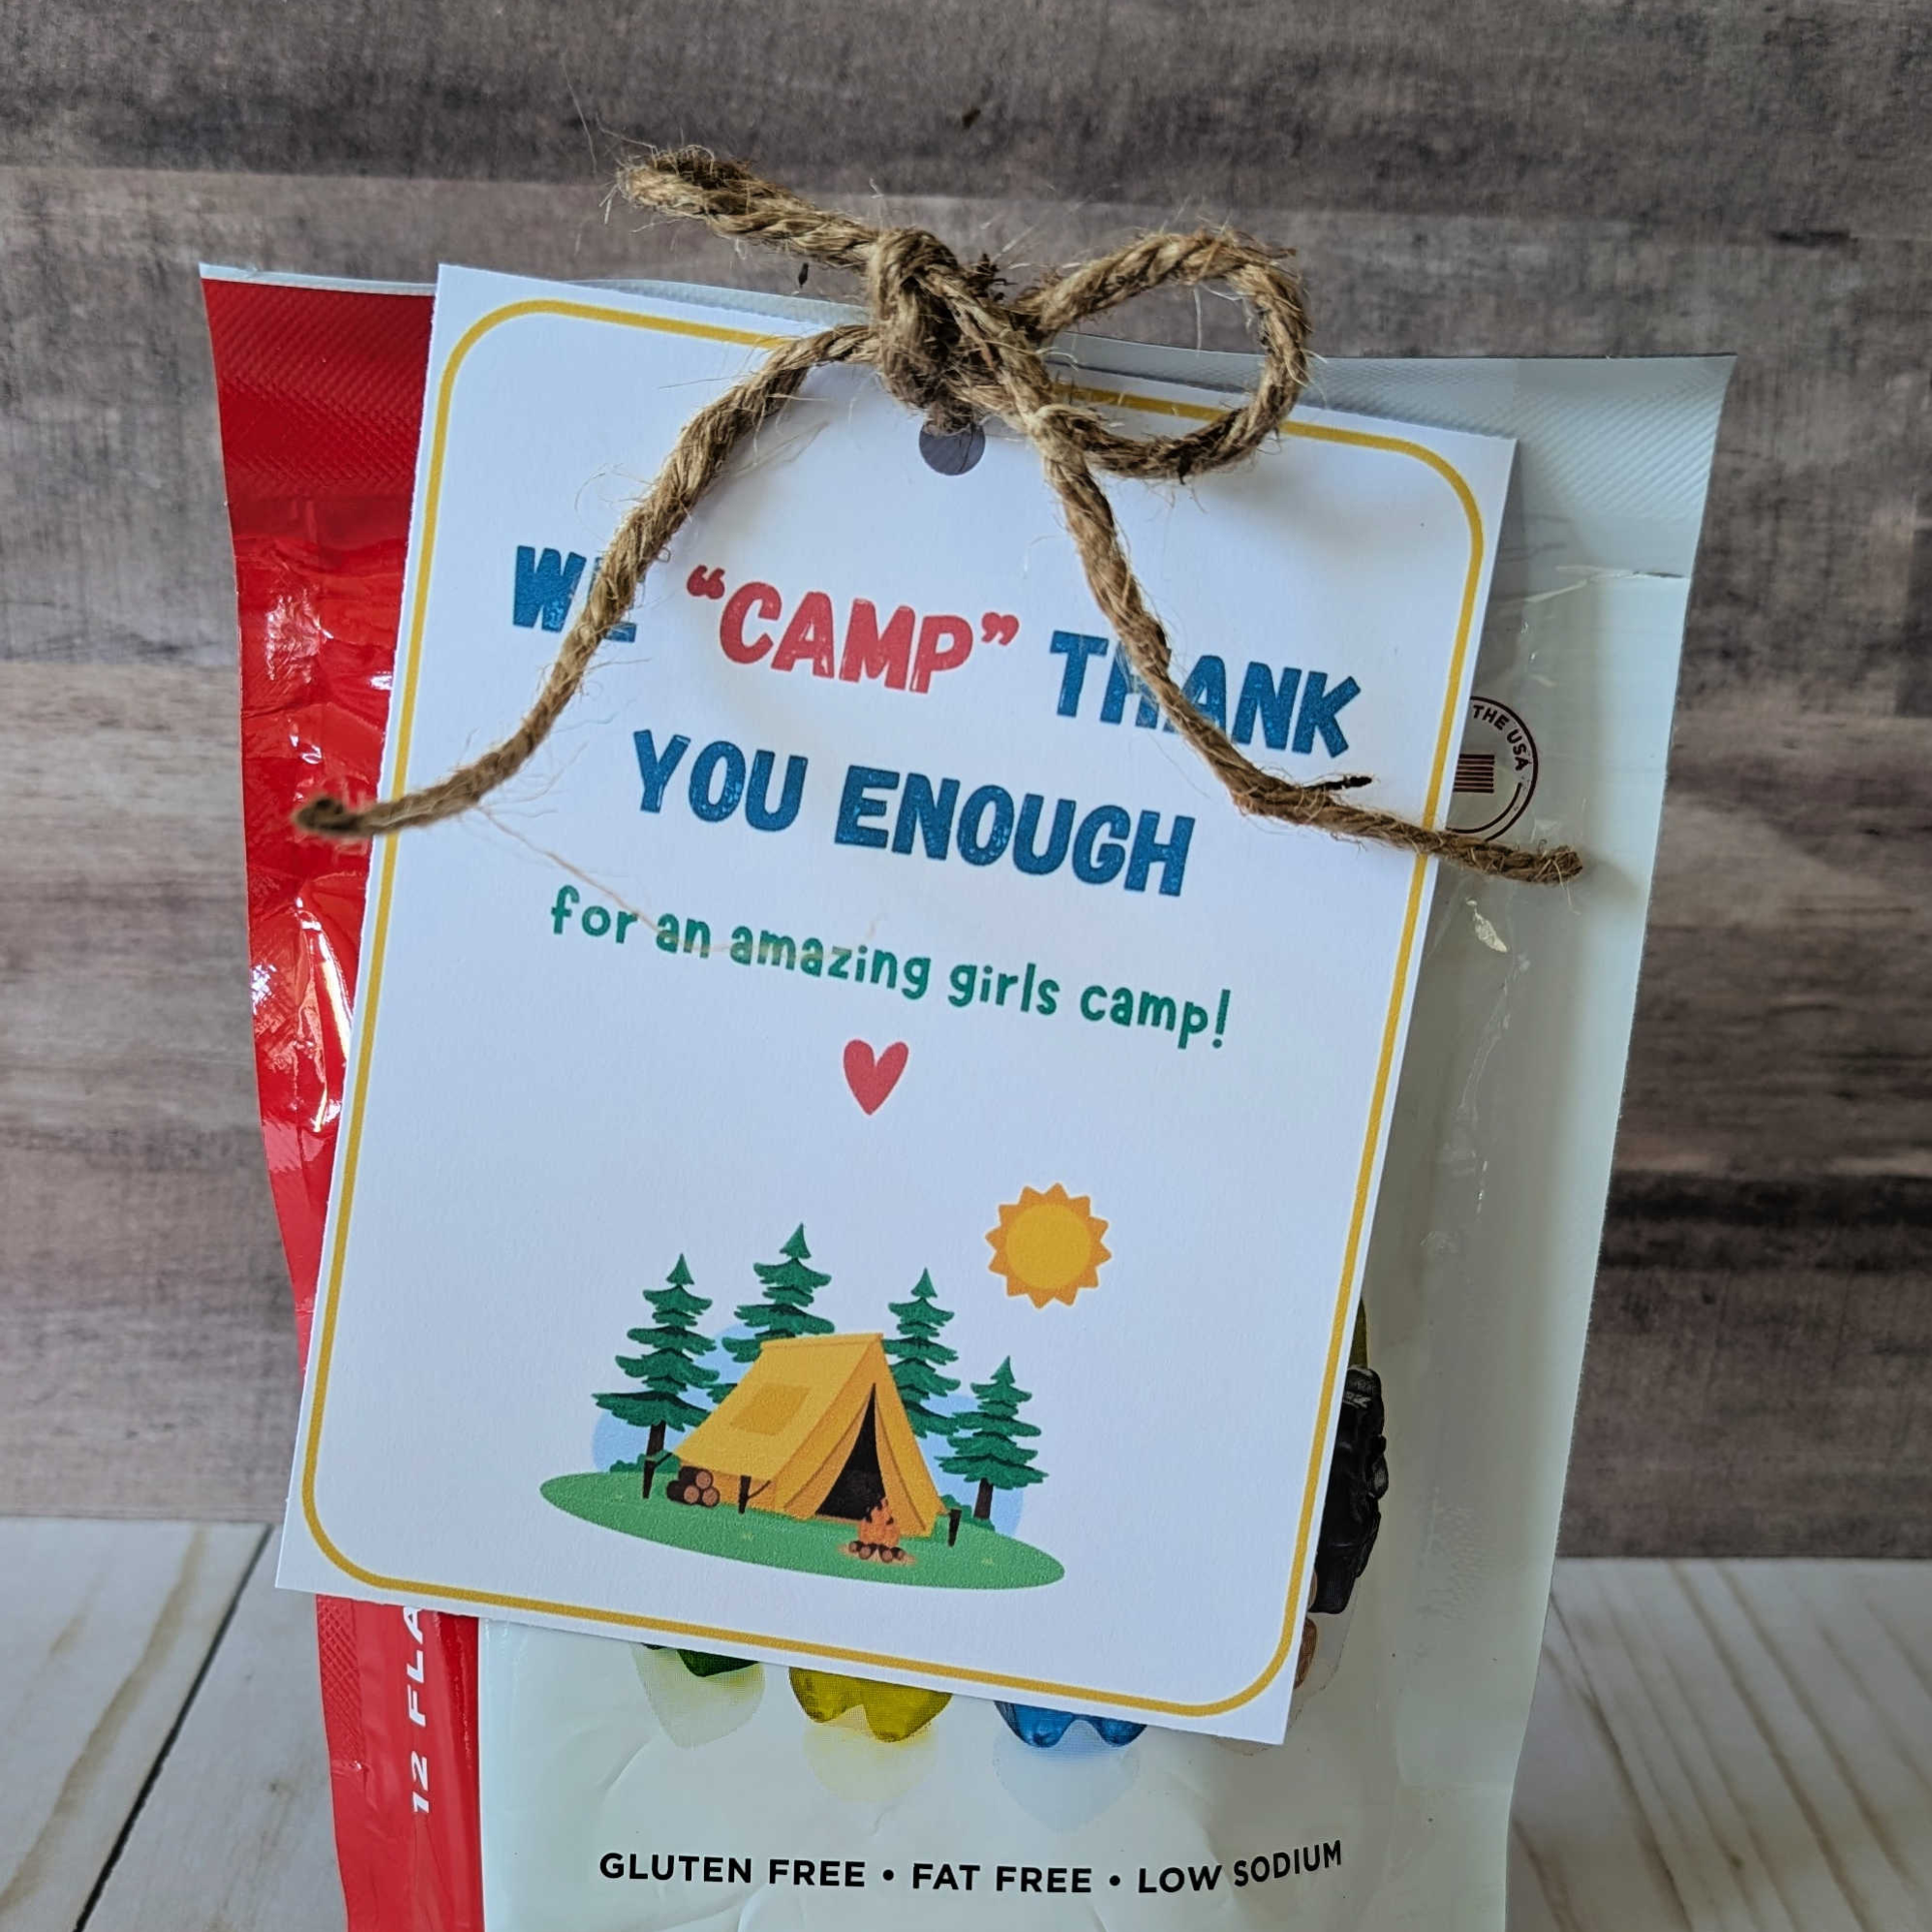
Download and print the girls camp thank you printable. There are 4 per page. I recommend using white cardstock, however, white printer paper works fine as well. The advantage of using cardstock is that it’s more sturdy and less likely to bend or get ripped.
Step 2
Decide how you want to attach the thank yous. If it is a flat box, using tape or glue dots works great. For a bag of candy or bottle(s) of soda, I’d punch a hole in the thank you and thread some ribbon or twine through it. Then tie it around and possibly use some tape if you feel it’s not quite secure.
Step 3
Pass out the thank yous!
Want to save this post for later? Hover over one of the images below and click the “Pin It” button. Then save it to your Pinterest board!


Hi! I’m Shani,
A stay-at-home mom of 4 and wife. I love sharing easy to follow craft tutorials, kid activities, family-friendly recipes, organization, travel and motherhood. I hope you’ll feel uplifted and empowered by each post, regardless of what kind it is. Join me as I raise my little munchkins and share the sunshine in this beautiful, crazy thing called life! Read more...